Internet settings
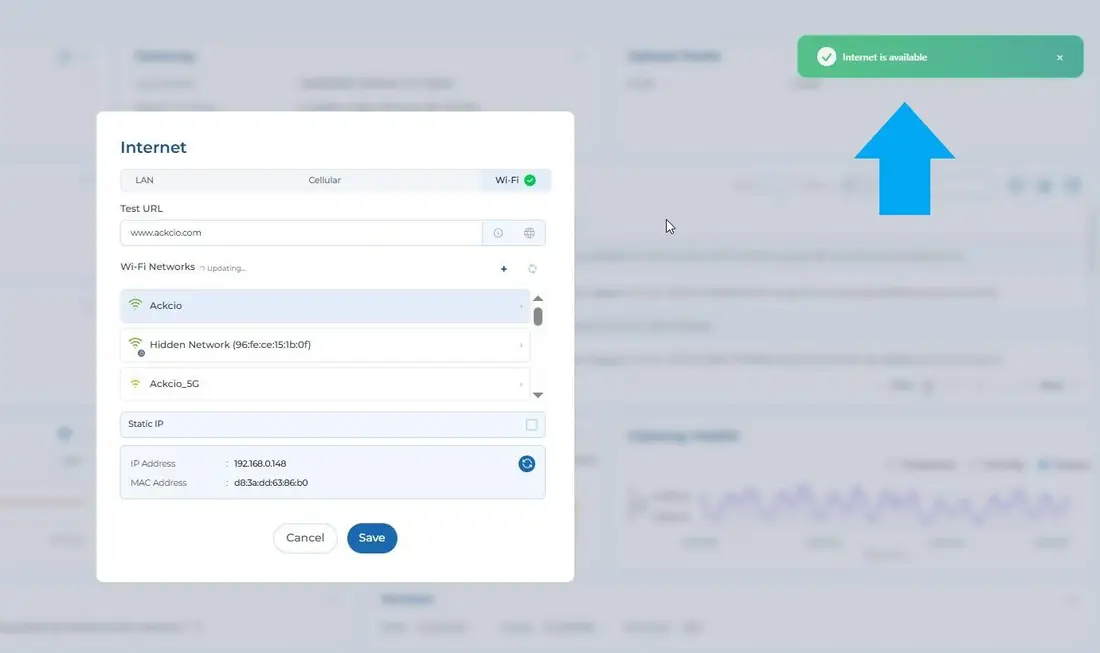
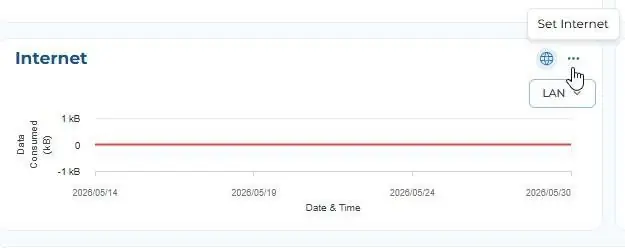
The “Internet” panel allows you to configure how the gateway will connect to the internet. The options available are connection via Cellular, Wi-Fi, or LAN. Click on the three dots in the “Internet” panel of your gateway and select one of the connection methods:
NoticeAfter making changes to the gateway’s Wi-Fi settings, or changes to your static IP (on LAN or Wi-Fi), your gateway will restart. You will need to reconnect to the gateway’s Wi-Fi network again once it has restarted.
LAN Connection
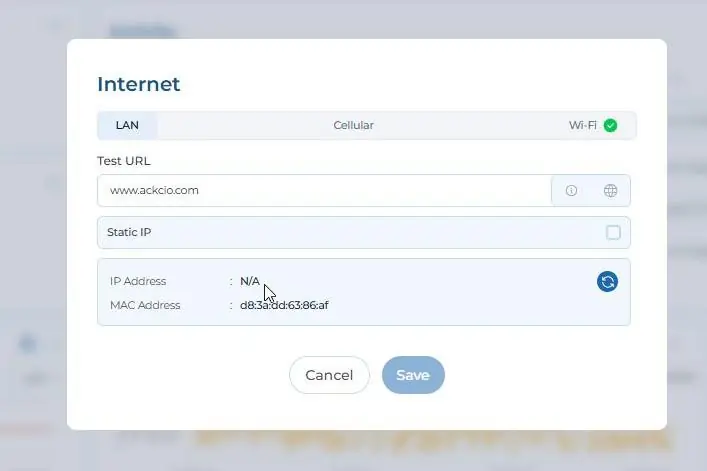
Ensure you have completed Connecting over LAN first and ensure you can access the GW while directly wired between GW and laptop on 192.168.10.1. And then disconnect LAN cable from laptop and connect the other end of your LAN cable to the router. To find the IP assigned, please login to GW via GW Wifi Hotspot using 192.168.0.10 and toggle to LAN tile and you would find the IP assigned if Internet is available.
Cellular Connection
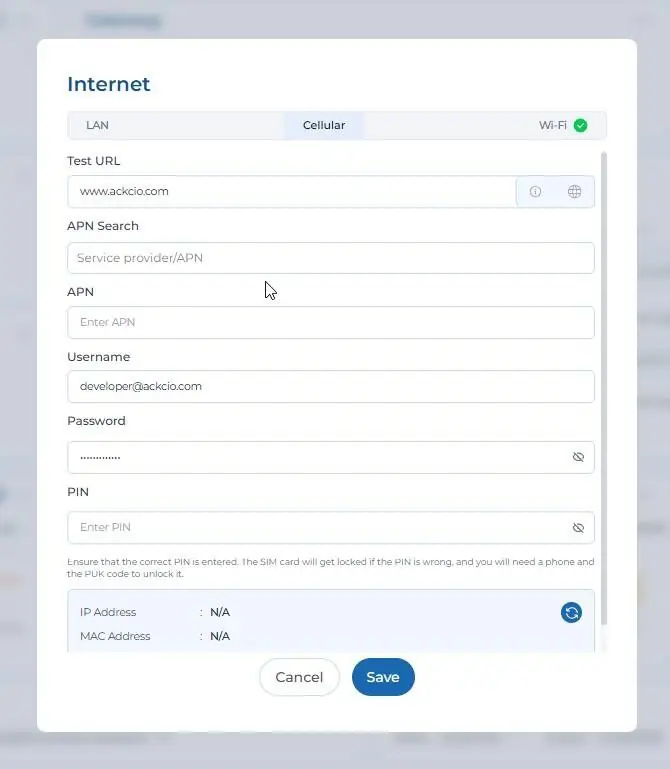
Insert the SIM card (only nano sim) in the SIM card slot tray in your gateway. Select the Cellular option on the “Internet Settings” panel. Enter the APN, Username, and Password if needed and click the “Save” button for the settings to persist. We have a set of predefined list of APNs already defined and you can search for the correct APN settings using the country or service provider name.
Wi-Fi Connection
Select the Wi-Fi option on the “Internet Settings” panel, click on the intended Wi-Fi and key in password and click the “Save” button for the settings to persist.
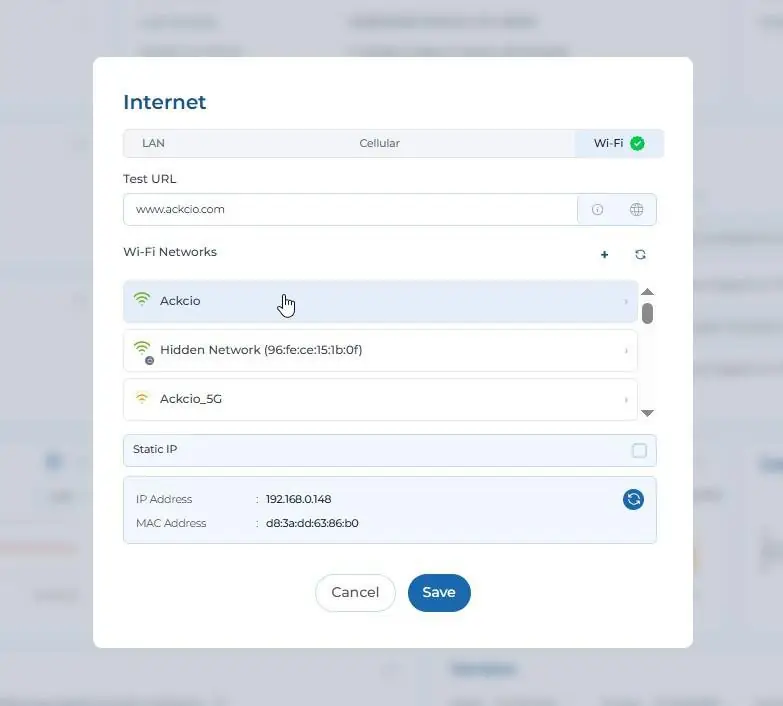
Static IP address
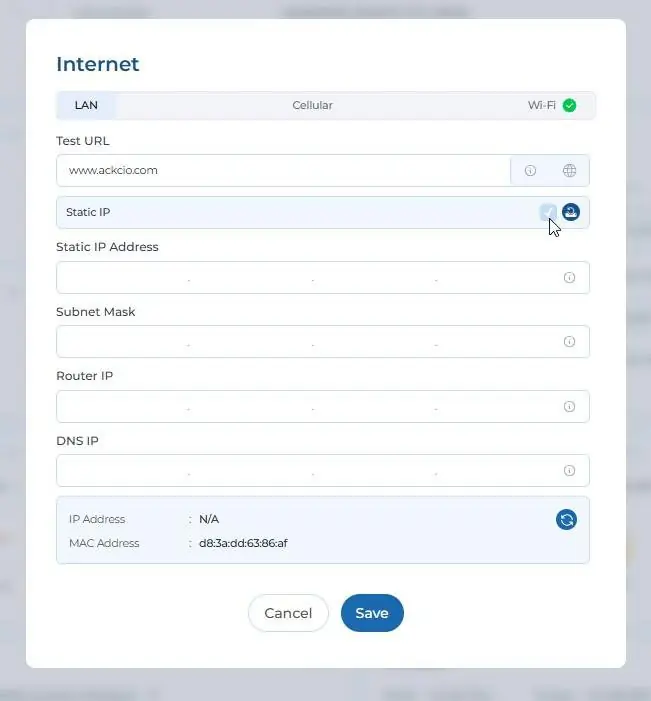
When using LAN or Wi-Fi internet modes, you can set a static IP address to allow for easier remote access through a VPN. To configure a static IP, follow these steps.
1. With either LAN or Wi-Fi selected in the internet panel, check the box labelled “Configure Static IP”. Once you check the box, the necessary fields will appear.
2. Fill in the fields for your static IP, subnet mask, router IP, and DNS IP. Then click “Save”
Verify Internet Connection
Once you are finished configuring your internet settings, you can perform an internet test to ensure your gateway is able to communicate with the internet. To complete this test, follow these steps.
1. In the internet settings panel, enter in a test url. We recommend using www.google.com.
2. Click on the globe icon next to the test URL.
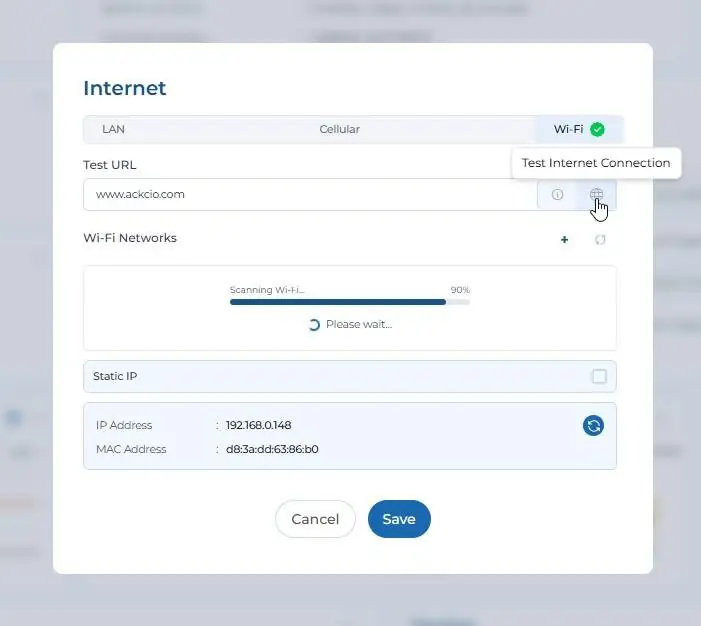
3. If your gateway is able to connect to the internet, you will see a green popup in the upper right corner indicating that the Internet is available. If you see a red popup indicating that the internet is unavailable, you may need to check your internet settings.